
Halloween floating candles are a fun Harry Potter style addition to your home this year! I wanted to put these Halloween floating candles outside on my covered front porch, so they needed to be sturdier than the cute DIY floating candles made from rolls of paper towels.
So I started searching and came across these Pottery Barn Harry Potter Floating candles for about $150! Yikes! We can do better than that!
I found a great deal on Amazon for a pack of 12 Halloween floating candles that includes a remote control…my kids favorite part. I did spice my Harry Potter floating candles up a little bit to create that Great Hall magic from Harry Potter. You can get the full Harry Potter Floating Candles DIY below.
Table of Contents
Harry Potter Floating Candles Tutorial
SUPPLIES:
- Flameless Candles (I bought this set of 12)
- Batteries
- Fishing String
- Hot Glue Gun
- Hot Glue Sticks
- Black Paint
- Dowel Rod

Remote Control LED Candle Sticks
I found a great deal on flameless LED candle sticks from Amazon! I got a box of 12 candles and it included a remote to turn them off and on. I love that I can turn them on and set a timer for 4 hours just in case I forget to turn them off. My kids love turning the lights on each night. And since this box has 12 candles I could split them into 2 groups and place them on each side of my front door. I read that on the set of the Harry Potter movies the used all those candles to create a warm and magical atmosphere. And these candles do just that!
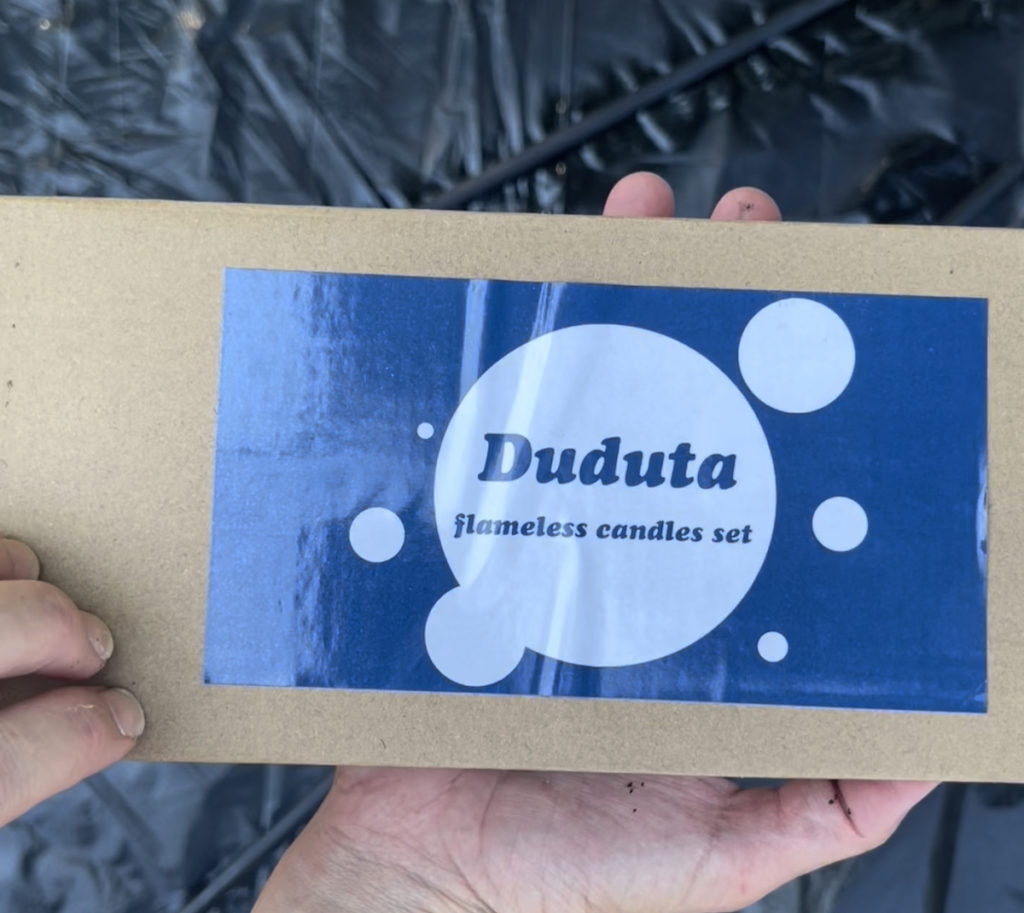
Here’s the box my candles came in from Duduta. The candles are a great quality so far and I like that they are plastic because I think they will hold up better outside, even though they are under the porch roof.
*Don’t forget to get AAA batteries! You will need 2 AAA batteries per candle. I forgot to add batteries to my cart and ended up picking up some generic batteries from the grocery store.
Assembling the Candles
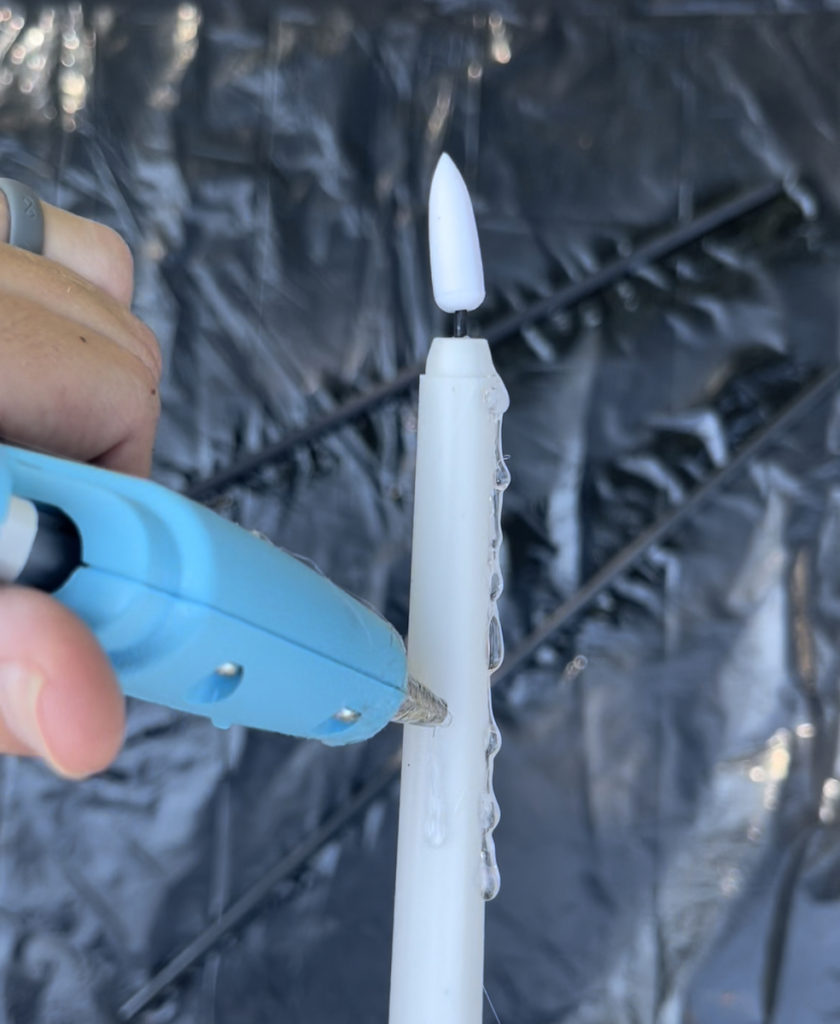
I decided to add hot glue to the outside of the candles so that it looks like wax is dripping down the candles. You can totally skip this step, but I love that it looks a little more like a real candle. This part was super easy to do!
I just took the hot glue gun and ran strips down the candle creating little bumps. Each candle had between 3 – 5 lines of hot glue down the side of the candles. You can also alternate lengths of the hot glue lines. A few short lines and a couple long lines of hot glue. Do whatever you think looks best!
How to Put Together the Floating Candles
Next it’s time to use the fishing string to hang these candles.
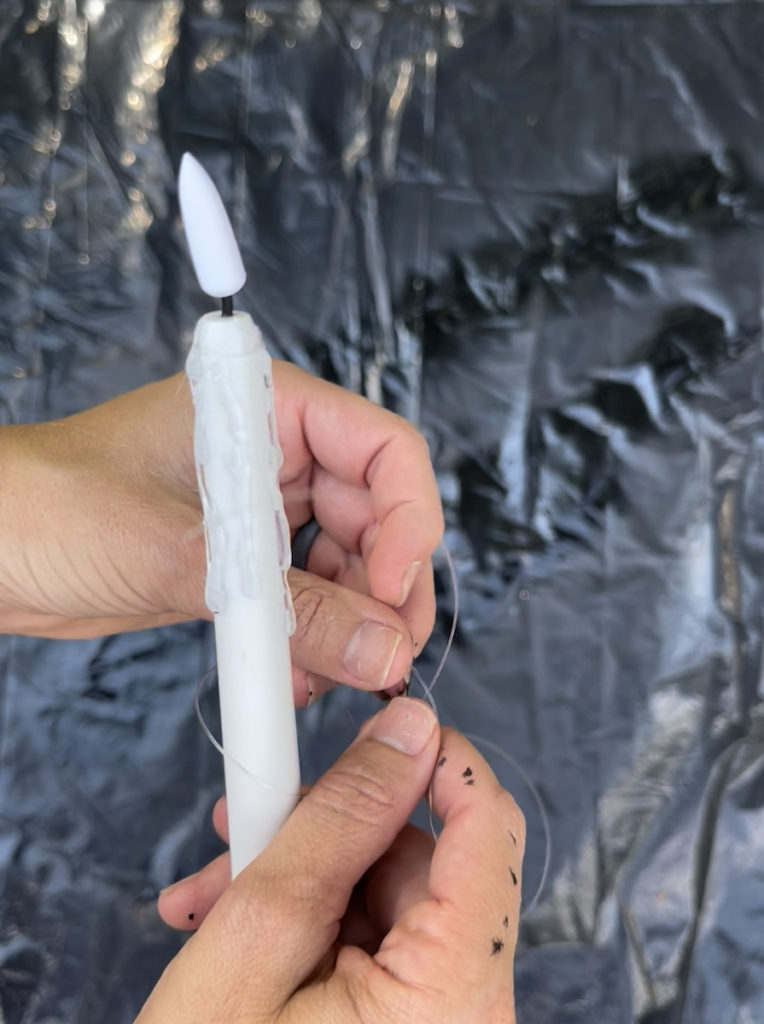
The top of the candle where the flame connects to the candle stick is flimsy. So I decided to tie a small ring made out of fishing string around the candle. Then you can use that ring to slide the string used to hang from the dowel rod.
Cut a piece of fishing string and tie it around the base of the candle. I found that the closer to the top of the candle was the best placement.
Tie the string in a simple knot. Then add a dab of hot glue to secure it in place.
Attach the Fishing String to the Candle
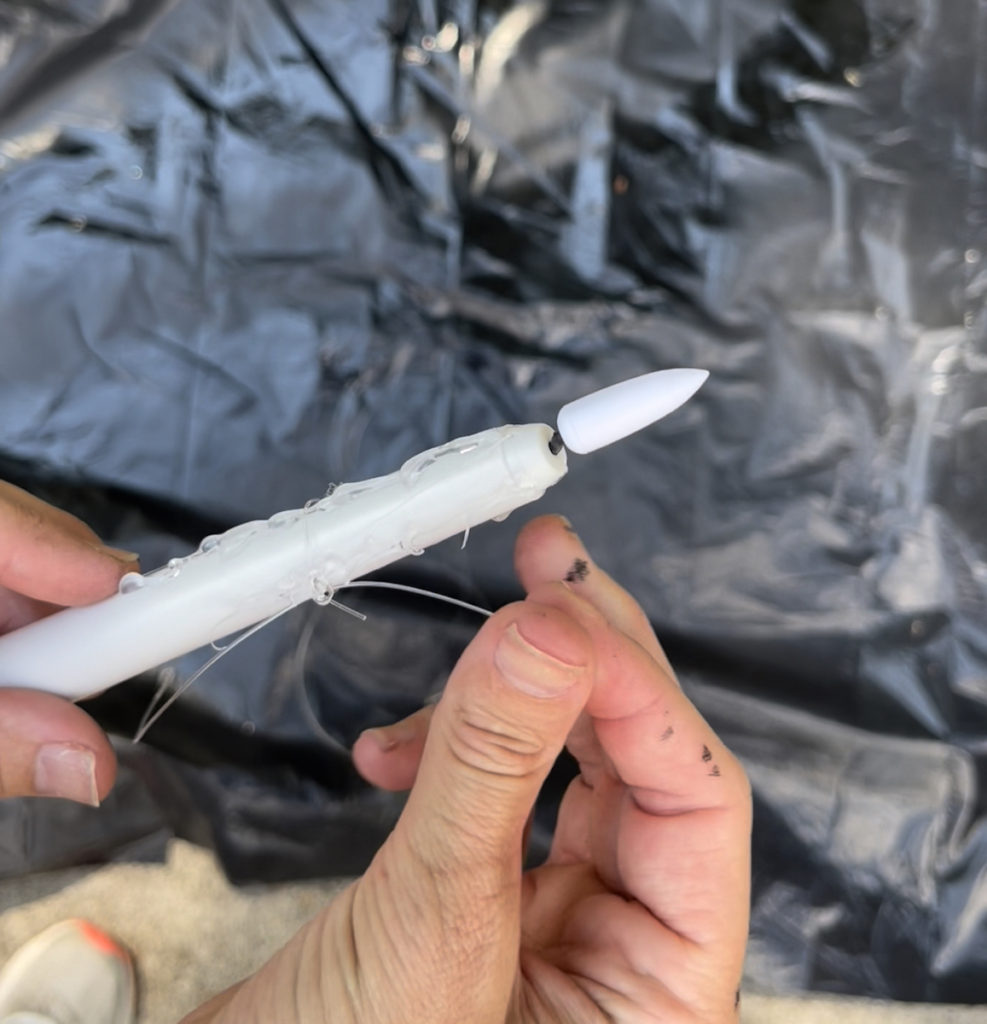
Now cut a long piece of fishing string. Thread the string through the little ring you just attached to the candle.
Hang the Floating Candles
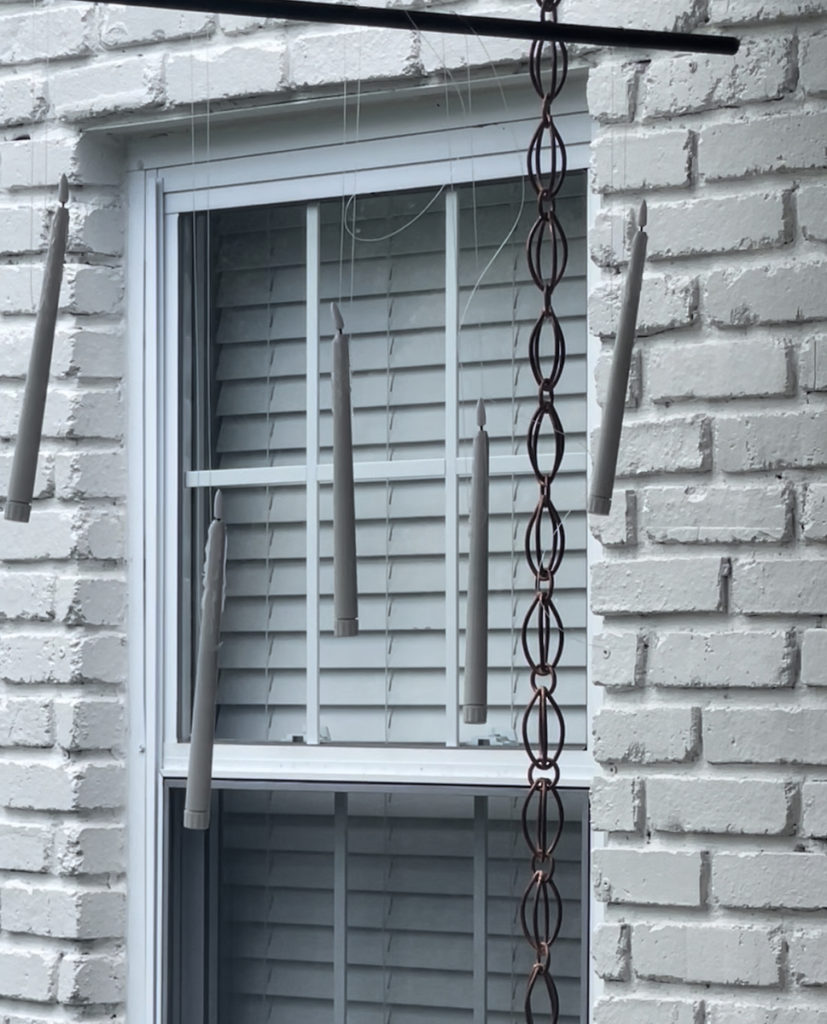
I attached the candles to a dowel rod that I spray painted black. You could hang your candles to the ceiling using scotch tape, command hooks, or little tacks. Just be careful if you are attaching to your ceiling because you could end up scratching the ceiling or making holes.
My front porch has 2 hooks in the ceiling (on each side) so I was able to just attach the dowel rod with fishing string. Then I hung each candle at different heights to create that floating look like you see in the Great Hall scenes of Harry Potter.
Simply tie a knot in the string to attach it to the dowel rod and then cut off the excess string.
Here’s a quick look at how I put the Halloween Floating Candles together! Hope this tutorial helps make your Halloween magical and a little spooky this season!